contact us

Use the form on the right to contact us.

You can edit the text in this area, and change where the contact form on the right submits to, by entering edit mode using the modes on the bottom right.


123 Street Avenue, City Town, 99999

(123) 555-6789

email@address.com


You can set your address, phone number, email and site description in the settings tab.
Link to read me page with more information.

used - sukasana.jpg

Blog


Filtering by Tag: warrior 1

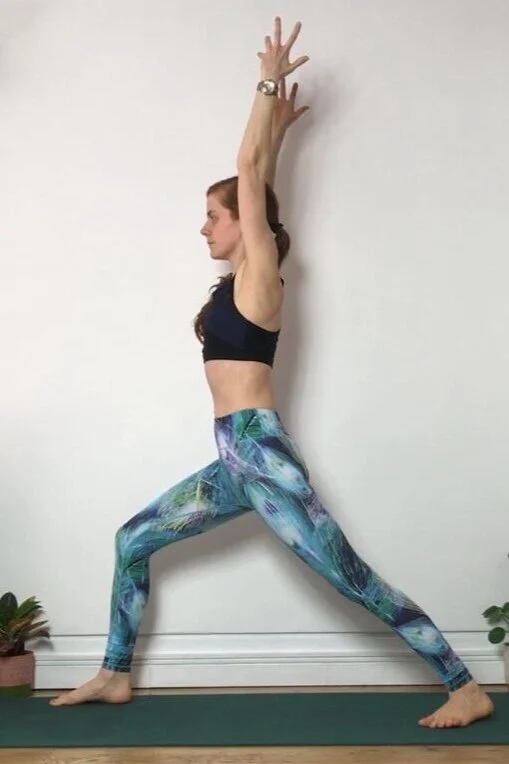
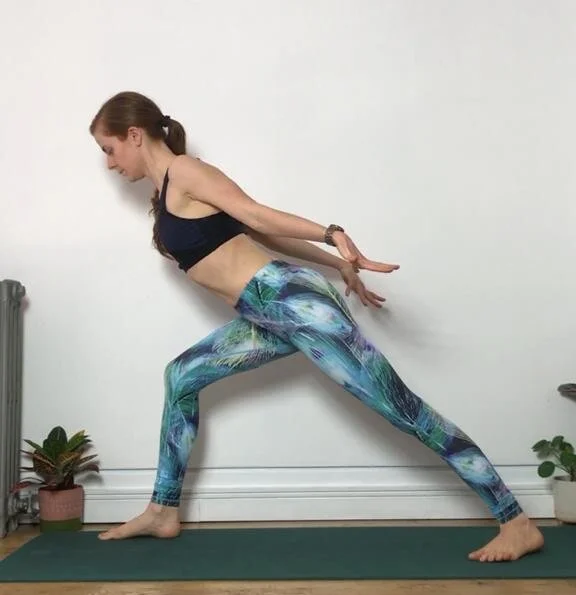
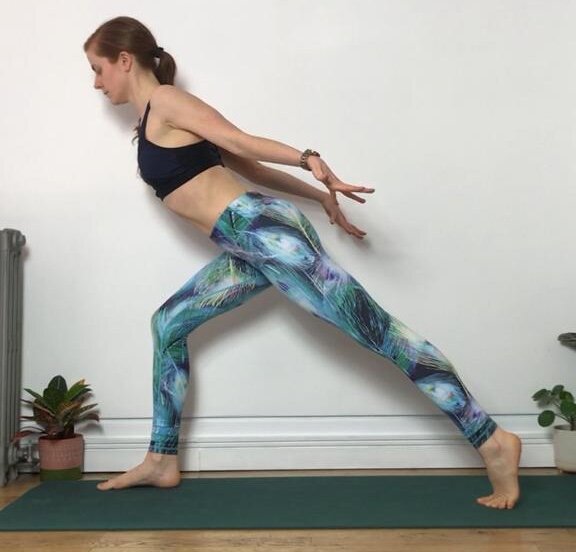
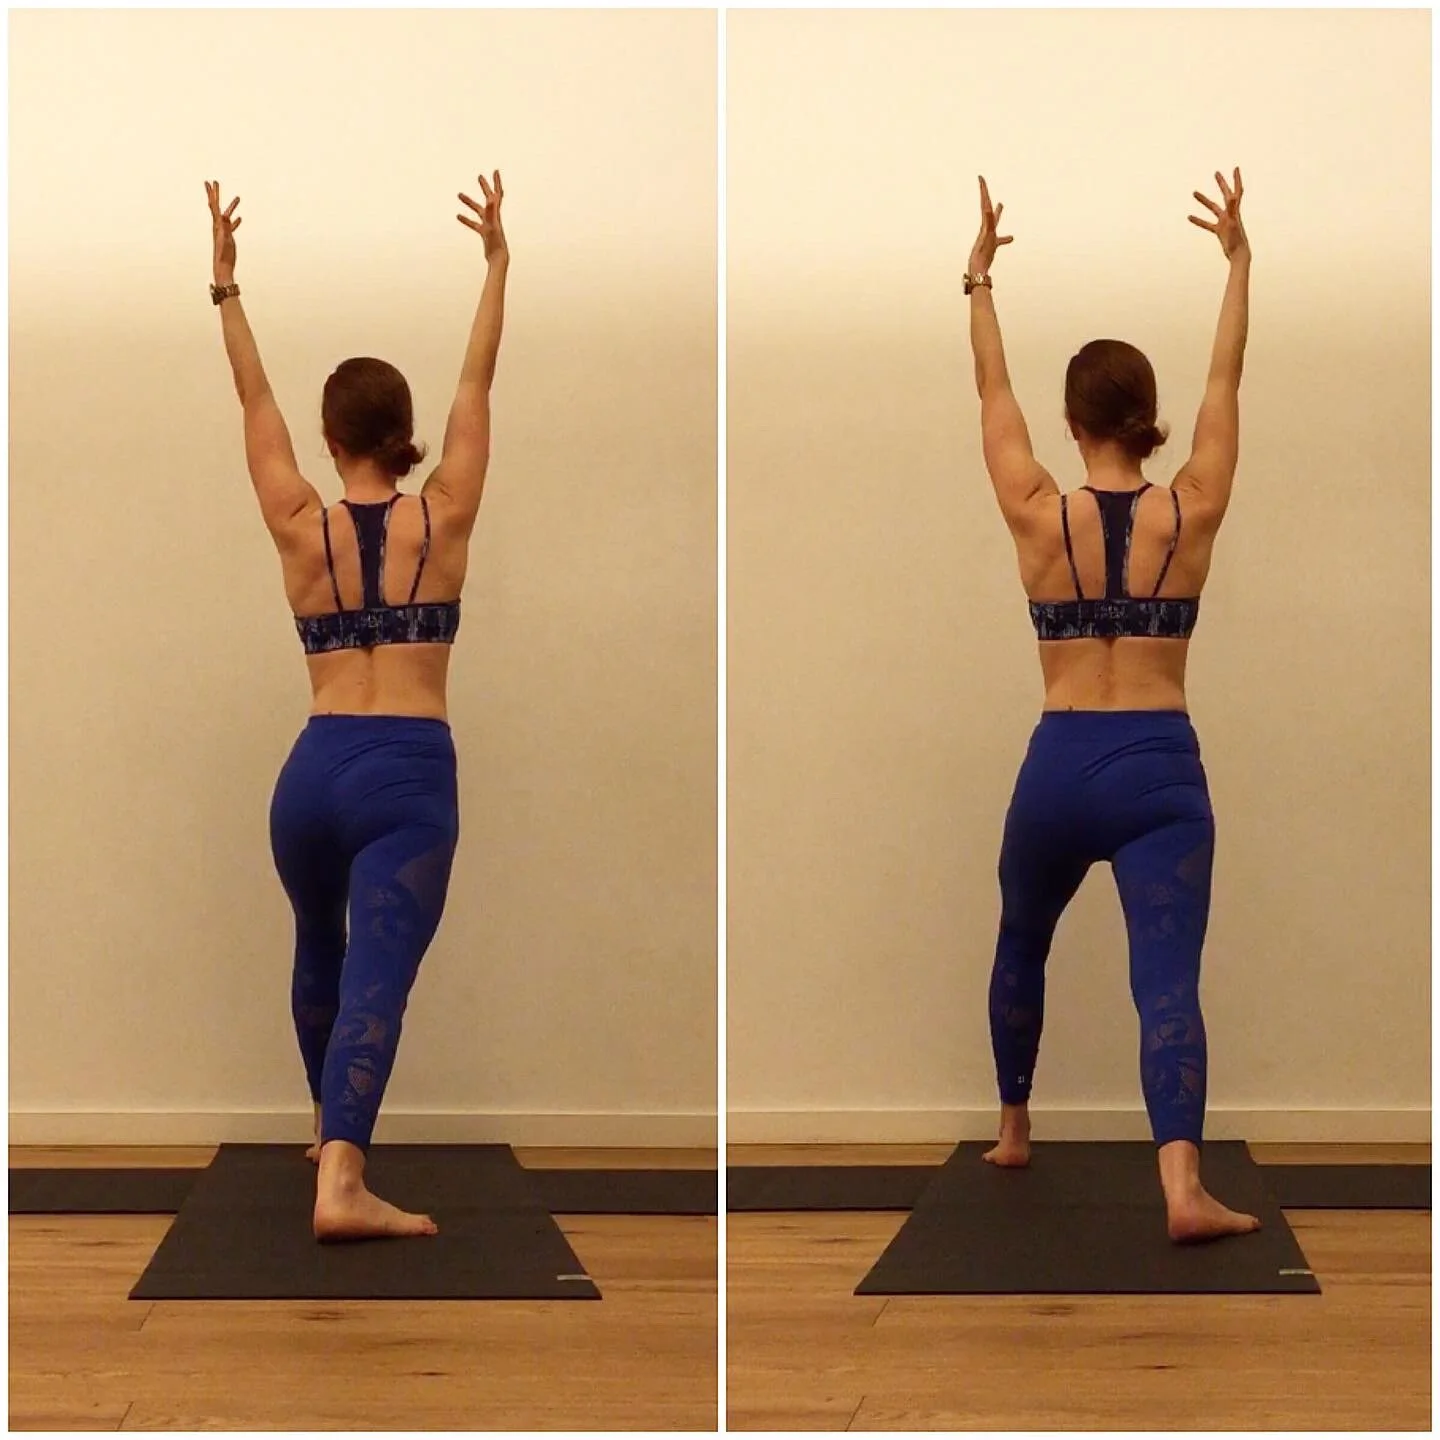
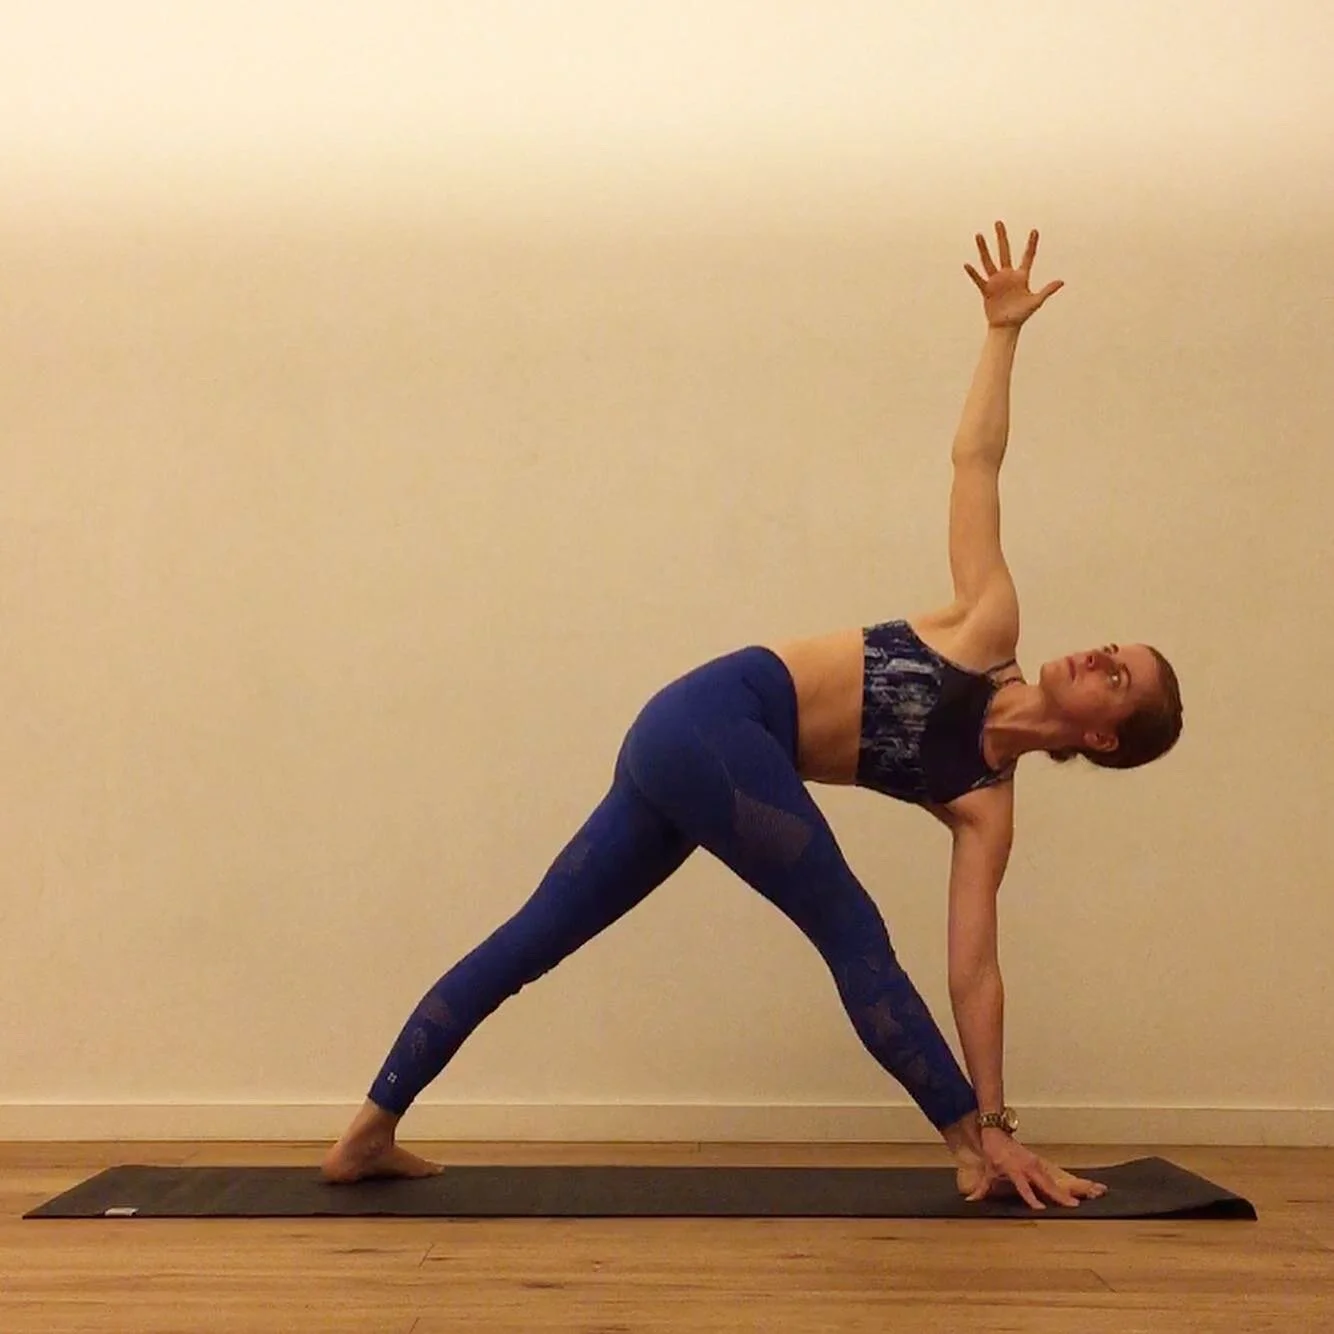
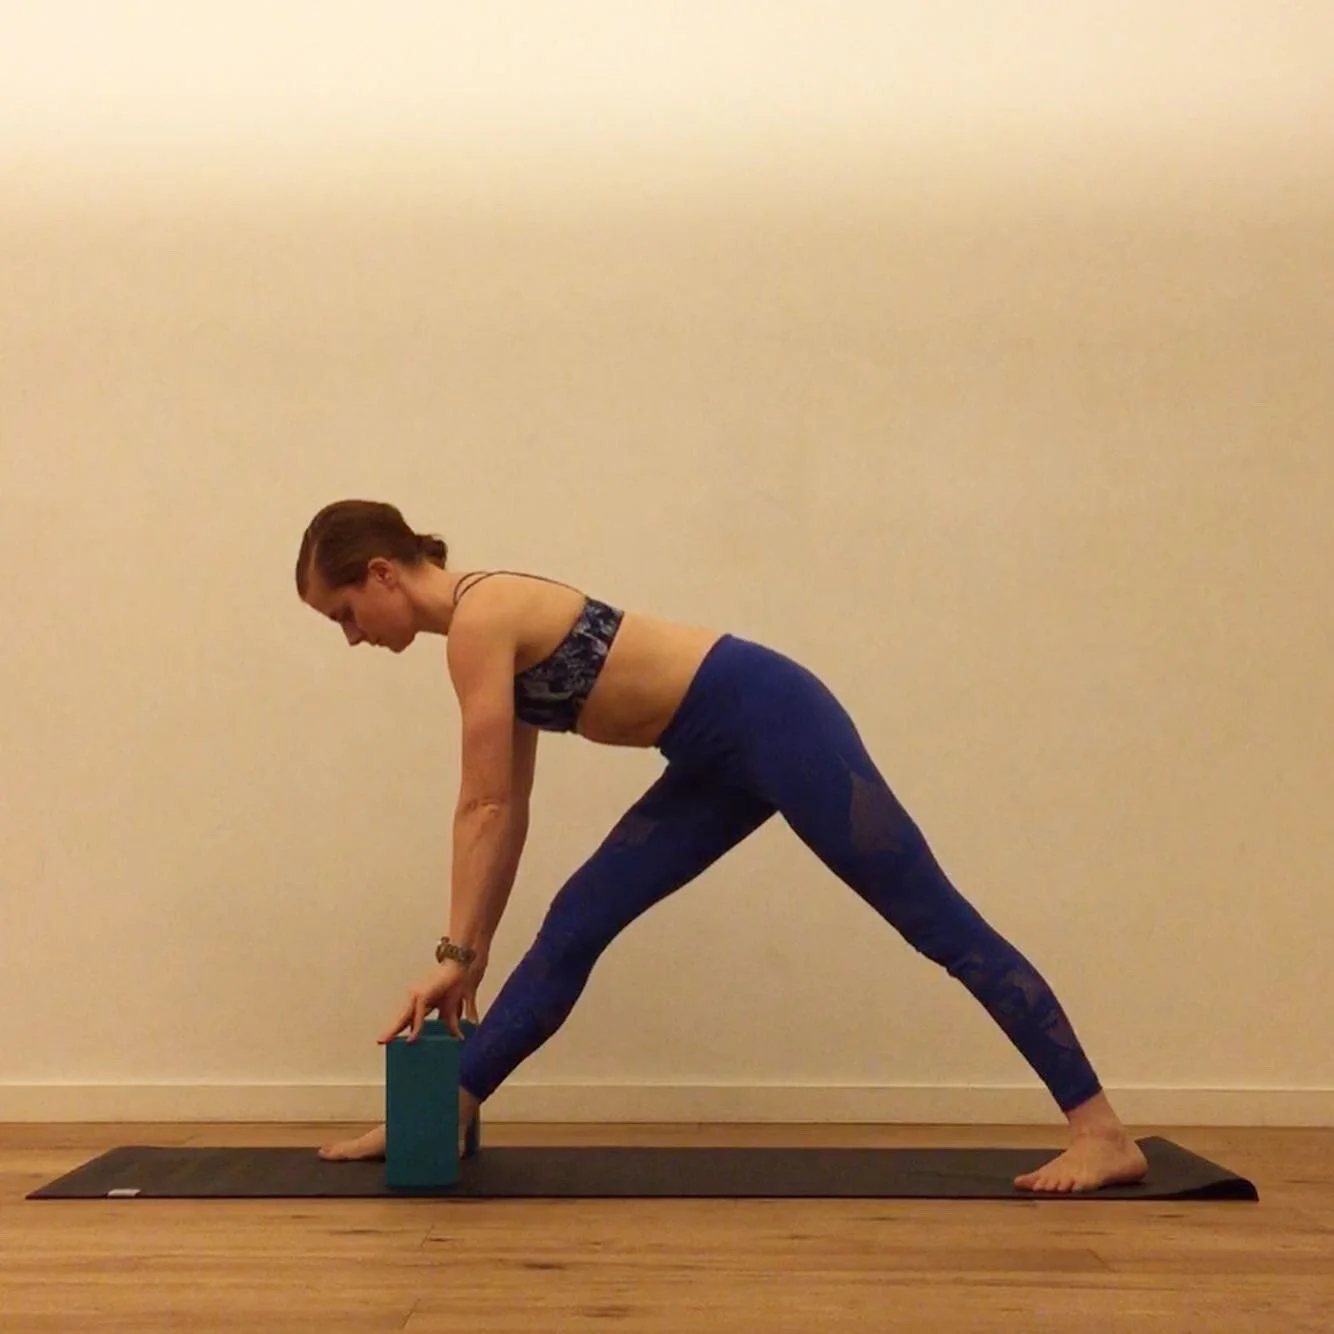
Finding more ease in warrior 1/ virahabdrasana A pose

Olivia Marley

Out of the questions that students ask me after class, asking about discomfort in the yoga pose warrior 1 isn't an uncommon one. And if you're feeling that, it doesn't mean you're doing it wrong! It's just your body's way of asking if you could do it a bit differently, and here a few tactics you could try. We look at foot placement, the angle of your feet and the position of your upper body. Let me know if this helps either you or your students, or if you have any other yoga questions! :)

Transitions: warrior 1 to warrior 3

Olivia Marley

Our last focus area in class was transitions (which is simply the yoga word for how you move from one pose to the other). It’s easy to just focus on the individual postures in this discipline but spending some time thinking about how you’re moving from one to the other has a few key benefits:

  • It’ll probably make you slow down. This is useful to help you pay more attention to what you’re feeling in your body, and also because moving slowly builds more strength (in the transitions we looked at this month, moving slowly was building strength in students’ legs, hips, core and shoulders)

  • Slowing your movements down in flow yoga should also slow your breathing down. And with everything that’s going on around coronavirus right now breathing a bit slower and deeper sounds like a good idea!

  • More broadly, this kind of practice can help you train yourself to keep paying attention and not get overwhelmed in a challenging and shifting situation

The first transition we looked at in detail was warrior 1 to warrior 3. We were using the arms alongside your body variation of warrior 3 – I like that one because I like how it switches on my back muscles. But you can have your arms reaching forward/ hands in prayer/ however you like! Here are the steps we went through and one key adjustment I was cueing for my students:

We start in warrior 1. I like to practice and teach this posture with my feet hip width apart across my mat, rather than one behind each other. This foot placement feels nicer in my back and also makes me feel more balanced (which is useful since we’re about to stand on one leg!).

See my earlier blog post about foot placement in warrior 1 here if you have any questions about this!

%40yogawitholivia+warrior+1
@yogawitholivia warrior 1 variation

From warrior 1 bring your arms down by your sides. Shrug your shoulder blades down your back away from your ears and squeeze them a little towards each other.

Turn your palms to face forwards and feel your upper back switching on. Try and keep that feeling in your upper back as we move through the next few steps!

In some bodies when you lean forward like this the extra weight being carried by your front leg will make your hips skew out to that side (ie towards your front leg). The video below shows how I cue my students to minimise this.

If it feels like your hips skew out to the side when you lean forwards, put your thumb in the crease at the front of that hip (ie in the fold in your body where your torso meets your leg). With your hand guide your outer hip towards the back of your mat and a little in towards the centre of your mat. Then try and keep your pelvis in the position as you remove your thumb and reach your arm alongside you again.

Then, once your hips are set as shown in the above video, lift your back heel and pivot slightly on your back foot so that your hips square a little more towards the front of your mat. This step will help your hips be more even when you shift into warrior 3.

Notice that there is more weight on your front leg now and the extra effort that requires of your front leg. Don’t let that freak you out! Take a couple of slow breaths and just notice how it feels. Shifting your weight forwards like this has started the transition to our next pose.

4f16c604-c97b-49d1-b3ea-b780b55bf2d6.jpg

Keep shifting more of your body weight forwards on to your front leg until eventually your back leg gets so light it lifts off the floor. Once you’re in warrior 3 press down through the big toe of your standing foot and feel that foot making lots of continuous tiny adjustments to keep you upright.

Then when you want to come up don’t let your focus go! Think about where you want to place your top foot when it lands, then bend your standing leg and as slowly as you can shift your weight back again to warrior 1.

@yogawitholivia warrior 3

PS Excuse that my leg got cut off in that last photo! Trying to fit yourself in the camera lens while at home because the country is in lockdown doesn’t always work…. 🤦🏻‍♀️😂 And, as always, please comment below if you have any questions!

Foot placement in warrior 1

Olivia Marley

Warrior 1: traditional v updated foot alignment

Warrior 1: traditional v updated foot alignment

We’ve shifted our focus to the warrior one family of postures in class this week. I’m also including other poses where the placement of your feet on the mat stays the same but you’re doing other stuff with your upper body, like pyramid and revolved triangle. 

revolved triangle

revolved triangle

There are two main things we’re looking at in relation to this group of postures: the placement of your feet and the amount of rotation in your upper body. Once I’ve found a comfortable placement for my feet in warrior 1 I normally keep them pretty much as they are for all the other postures in this family. But because my body’s different to everyone else’s, my foot placement will be different to everyone else in class. Conversely, the amount I rotate my upper body in these poses changes from posture to posture, as well as being different to how everyone else does it. Maybe a simpler way of saying that is:

  • feet placement

    • will be individual to each person

    • for any one person foot placement will likely be the same/ similar across the poses in this family

  • upper body rotation

    • will be individual to each person

    • will be different for each of these poses.

@yogawitholivia pyramid pose

In some traditions they would consider that there’s a set way everyone should put their feet in warrior 1 (you might have been told in the past to line up your front and back heel, like in the first, left hand image above). In my experience, of my own body and of talking to my students, that alignment often doesn’t work for ankles/ hips/ knees or lower back. So this I’ve been suggesting that my students try out having their feet hip width apart (like in the first, right hand image above). We’re also experimenting with turning your chest towards your front knee (the more traditional way, as shown here) and then turning it a little away from your front knee, which some bodies much prefer.

Which foot placement and position of your upper body does your body prefer in warrior 1?